The bronze is cast now the work begins.
- carldurban
- May 10, 2021
- 3 min read
Updated: May 11, 2021
With this being my first piece of bronze cast I wasn't quite expecting the amount of work and techniques required to turn it into something presentable. It needed welding (twice), chiseling, grinding, dremeling (is that a verb?), buffing and polishing and that's before I could even think of what finish I wanted.
To show the work involved I have included below a before and after comparison of what it was like when it came out of the casting process and the state of where it is as I write this. I think I will patinate the bronze to dull it down as a finished piece of work as I don't think it should be a shiny surface, it doesn't feel right for this piece.

The biggest issue was the split, which needed welding together and where the bronze escaped from the mould to form the raised wall. This could have been caused by a few things, most likely some settling of the sand and plaster prior to the pour as it did have to sit for a long time due to the kiln being out of order for a few months. Neither of these would have been such a problem had they not gone right through the raised Braille bumps. Initially I wondered if it was salvageable and should we start again but on speaking to 3D we devised a way to see if it could be recovered.
As part of the cast I also had a small piece that was from a wax mould that I wanted to see as a solid cast and although this was an incidental piece it proved vital as a test piece to try out tools and techniques on.


The first thing was to do was to chisel off any excess pieces and with bronze being quite a soft metal a sharp steel chisel was the best way for this. I could also define the creases and make the shape come to life. This piece also required a small amount of grinding, again, a perfect thing to practice using the tool on without worrying about ruining it. Then it was a case of using the nylon disk to buff it up. This piece I felt worked as a polished piece and although not quite finished I feel it is very close to being as it should be.
Now to try these techniques on the big Braille piece. Back to the chisel and then the grinder, the more I could remove the potentially lighter the piece would be and the less bronze I would need to buy!


Taking off the pieces from the back were not too difficult, just a process of working through them, however on the front it was a much more delicate affair where a slip with the grinder could have made some serious defects to the surface. Once I had taken off as much as I was comfortable with it was the turn of the Dremel which, although will make some really big marks in the piece if you aren't careful, it will also allow you to get closer to some of the more delicate areas and you can change the head to get even finer with the shaping.

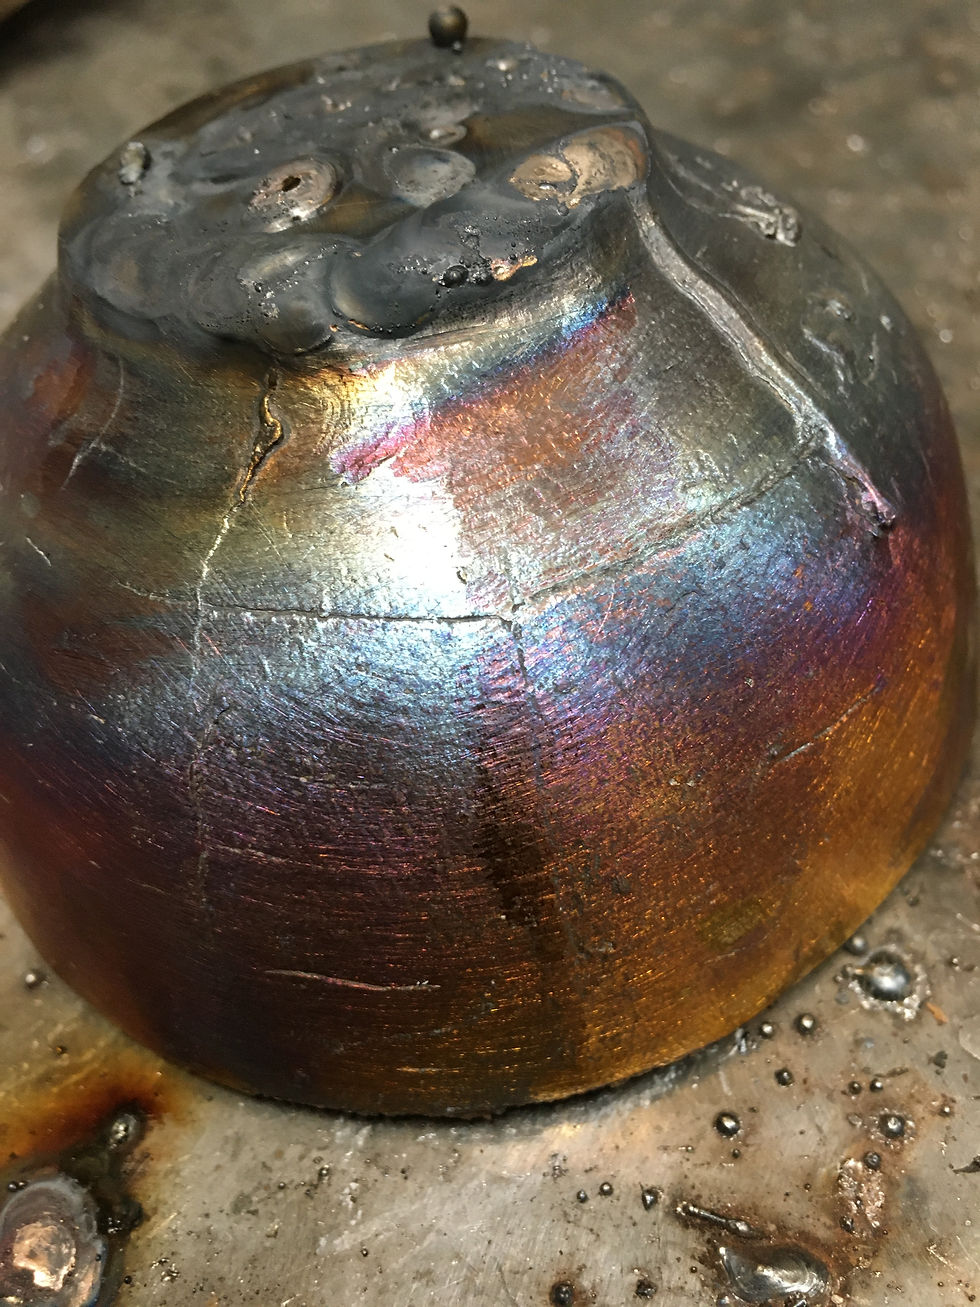
From here on in it has been a case of working over the surface and repairing as much as possible. We (Jim from 3D and I) decided to make a small weld to fill in some of the tracks and crevasses left from the original issues. I had a practice with the MIG welder on another piece but left Jim to the front of this as it was a particularly delicate area. Especially when my practice managed to heat up the item so much it stuck to the workdesk... turned a lovely colours though.
So more Dremeling, buffing and polishing to to refine the front of the Braille piece. It was starting to look much more of a finished piece and really became a case of fine tuning the process to make it a consistent finish across the front. One of the issues was that where all the work had been done on the crack and weld that this are had lost a lot of the natural pitting and surface detail that the rest of the piece had, so we decided to start adding this texture back to match the rest of the bronze surface.


I am not quite finished but it is getting close, just need to book in another session or two and get the surface texture matched all over and then decide on the finish.


Comments