More Braille. This time in bronze.
- carldurban
- Dec 2, 2020
- 3 min read
Updated: Dec 3, 2020
After developing the plaster cast piece I felt there was more to explore in not just the language of Braille but also ways I could materially develop the delivery of not just one message but several.
The first idea was to see if I could make the plaster piece something a little more permanent and potentially cast it in bronze. I thought this would be a simple job but oh no, how wrong could I be? Not only did I have to re-cast the plaster, which meant re-making the negative message in clay again, I then had to make a new plaster positive, then a plastic negative using the vacuum mould at Uni. That was all before I could make a wax waste model and then prepare it for the foundry with all the right pouring set up and vents...
Stage one. The remaking of the plaster after the original unfortunately broke in two... ( my fault, I put a piece of wood in the back to use as something to hang it from but this just absorbed the moisture, causing the break as it all dried). Note the scratch in the plaster which I had unknowingly made in the clay prior to pouring in the plaster... which I filled with a smear of clay prior to making the mould.
Then came the vacuum mould to create the negative shape that could have wax 'painted' in it to create the actual piece that is to be cast in bronze. Sounds simple. It isn't.
Making the vacuum piece was relatively simple and created a good representation of the bumps making up the message sucking really tight to the plaster and between the raised areas. It still showed my hand in the making and retained the imperfectness of shape and moulding, which I felt was important.
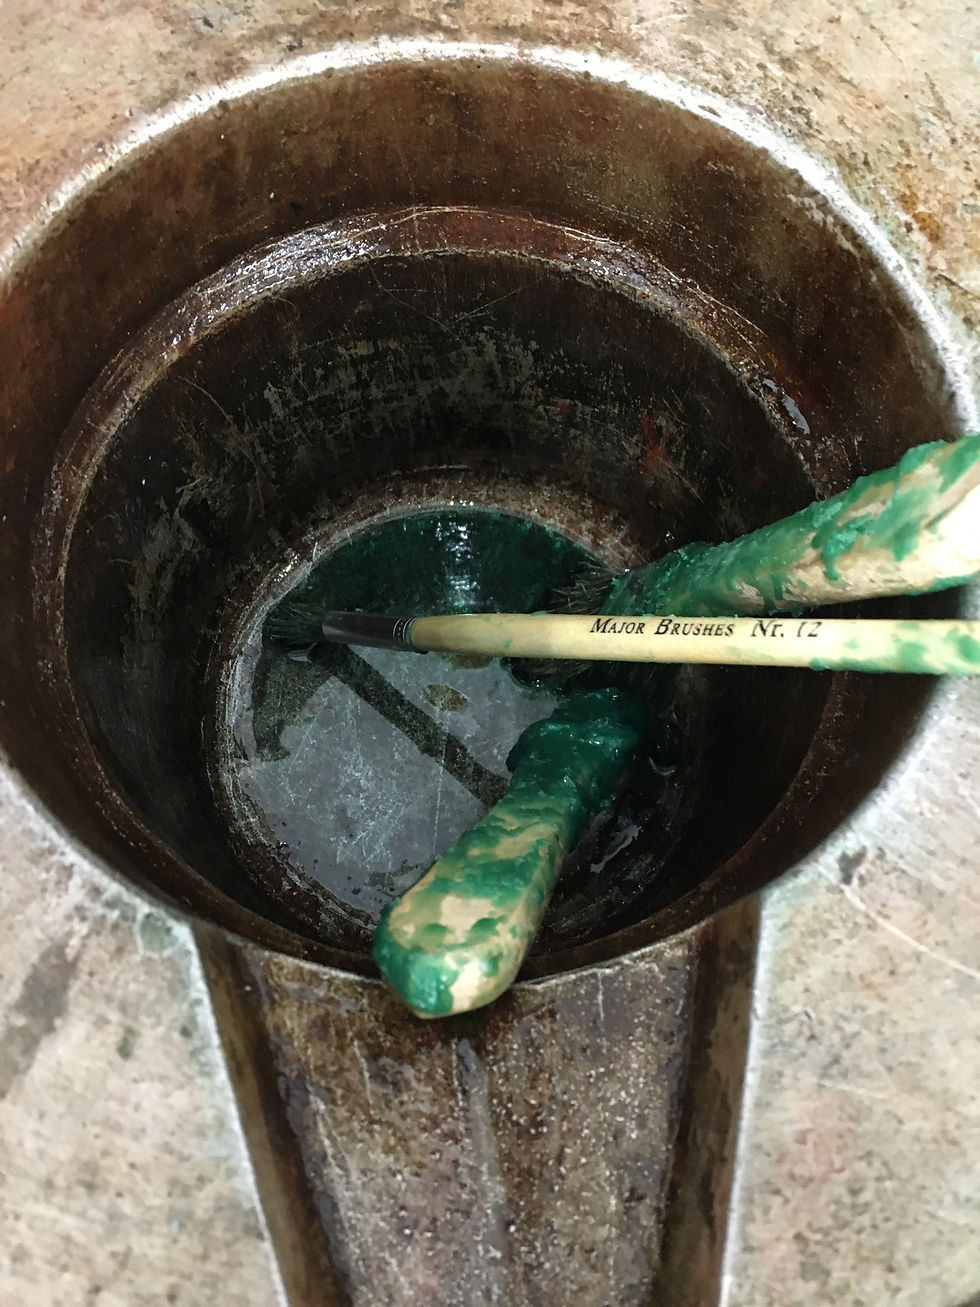
Now for the wax. First of all time to practice and see how it works, painting with wax requires patience and technique. Using hot liquid wax I had to dab it in the mould and work it up in layers. First of all a little practice was needed. Keeping wax at good temperature (about 80 degrees) was vital to ensure it could be painted but wasn't too runny or too cold and set too quick or even on the brush.


First attempt was a little rough and also had some 'delamination' which is when the different layers start to break up. With the size of the piece it was quite tricky to get an even covering as obviously the was constantly setting. Time for the real thing.
It was important to make the mould strong enough to withstand the casting process but also think about how the edges would work.

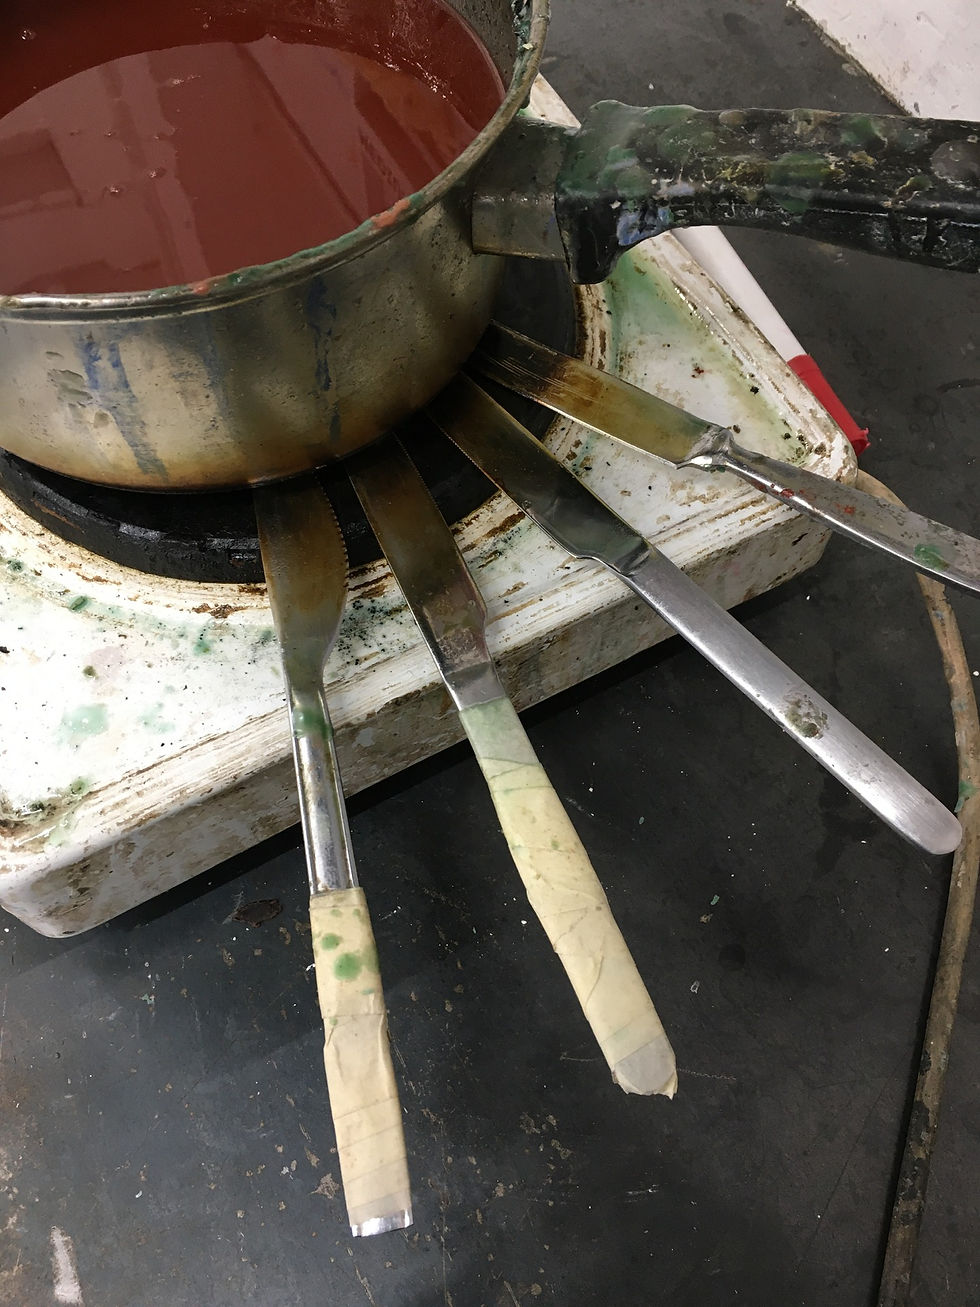
Once the wax was removed from the mould evidence of delamination was clear (the flakey bits) and it was a case of can these be made good, do we start the wax mould all over again or do we try another method, ie a latex mould. After many hours using a selection of knifes heated up on the cooker element I managed to get a smooth enough finish by re-moulding the areas that had the most damage.

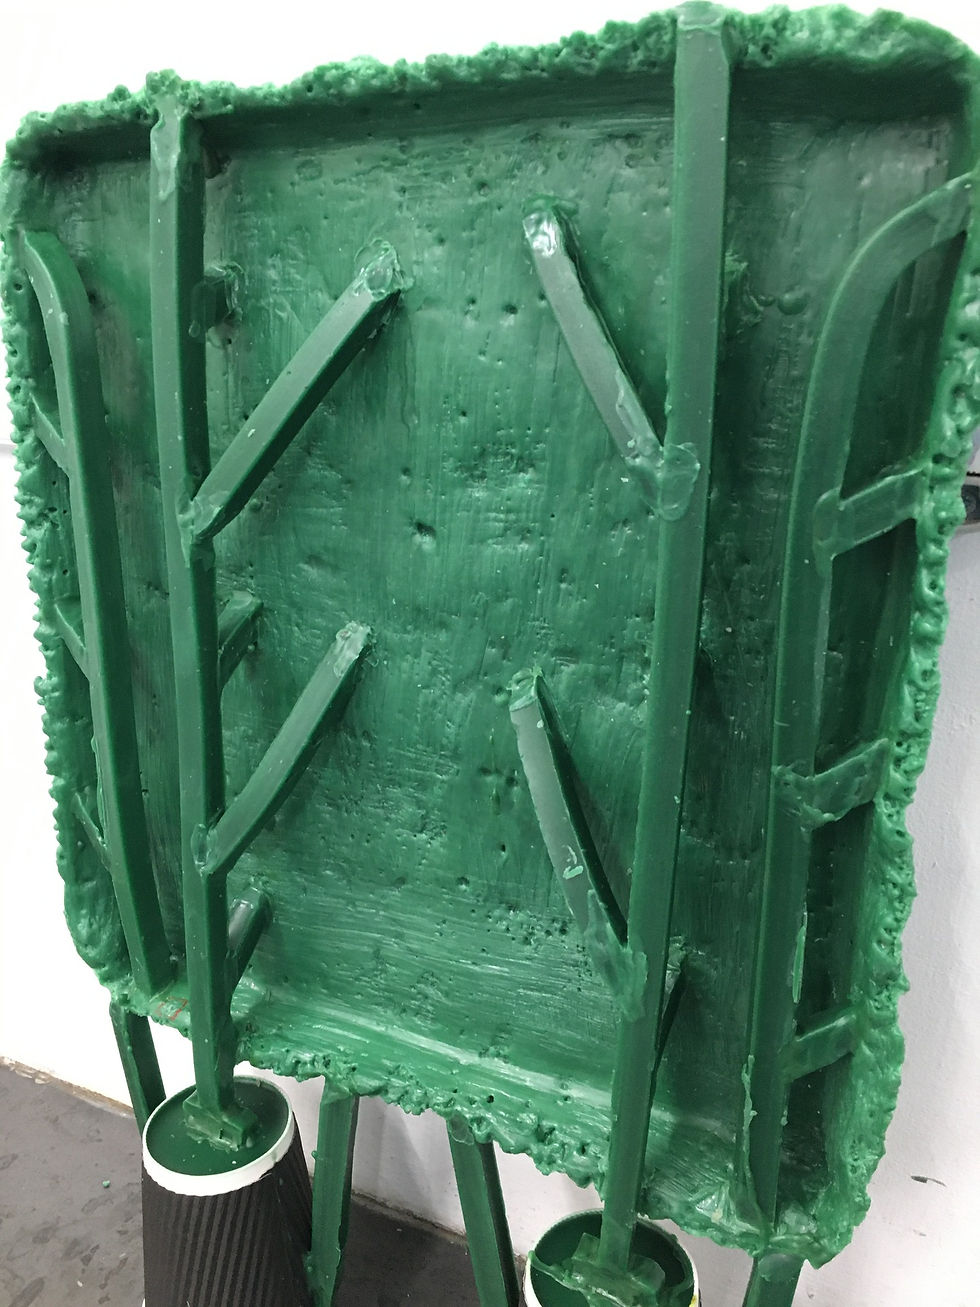
Now for the running up of the sprues that will be used to pour the bronze in and let the gasses out. Jim from NUA 3D gave me a little diagram to follow. This process took about 4 hours as I had to make the sprues first and then cut and weld on using more wax and hot knives.


Even after all this Jim still had to adjust things to make sure it would work come the actual pour. Something that is only really evident with experience and foresight of the actual process.
Fingers crossed it will make it through the casting process...


Comments